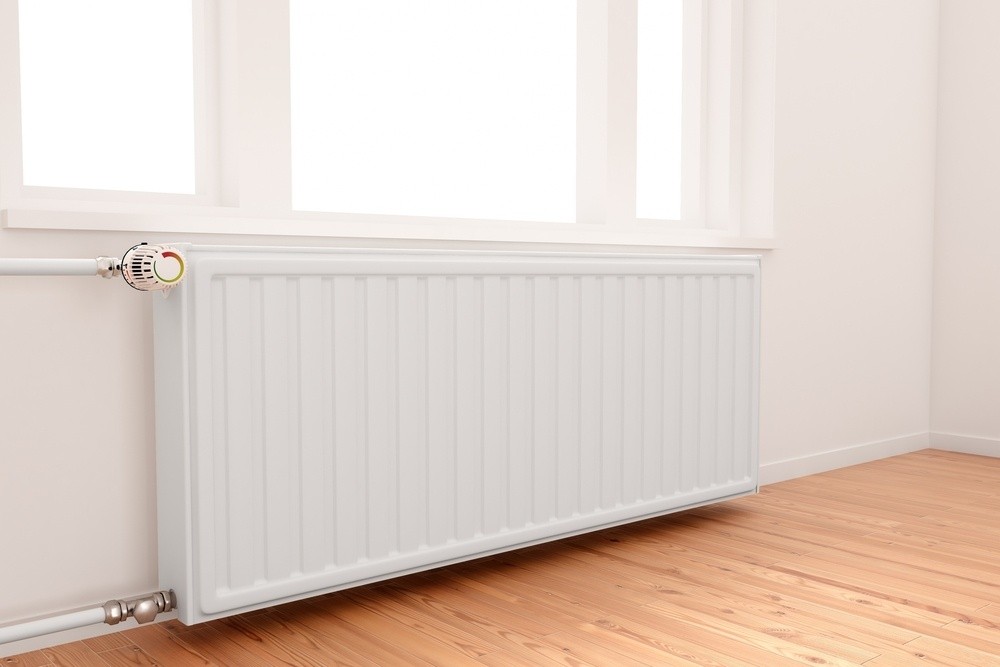
Any home heating system is complicated, and most people prefer not to mess with it. However, you may find yourself in a scenario where you need to remove a radiator without draining the system at some point, with the most typical cause being room repainting. If you want to change the color of your walls, you’ll need to take out the radiator so you can paint behind it. You could be thinking right now that this isn’t the work for you. This work, however, does not need any particular abilities. Today, we’ll show you how to remove a radiator without completely draining the system.
Tools
Radiator bleed key; adjustable spanner; a set of adjustable grips; towels and a sponge; painter’s rolling tray are among the equipment you’ll need.
Do you have a gas or electric heating system?
If you’re not sure what sort of boiler you have, search for a little dial on the front of your boiler, which should be in your attic or airing closet. Make a mental note of where that dial is pointing since you’ll need to depressurize the system and perhaps add a tiny quantity of inhibitor once you’ve finished this repair and hung your old radiator back on the wall. You won’t have to worry about remembering where the system pressure is if you have a tank in the loft.
How to remove a radiator without a draining system
You’ve gathered all of your equipment and determined the sort of heating system you have, so now it’s time to get to work. Simply follow the steps from here on out.
Step 1
Ensure that the radiator valves are closed. On the opposite side of the radiator, turn off the lock shield and the TRV. To close the valve, turn it right. Undo the valve radiator bleed key after that. We want to be certain that no water enters the building. As the pressure in the radiator diminishes, a little amount of water may leak out, but it should cease shortly.
Step 2
Remove the radiator and drain it. Grip the valve with the adjustable spanner and loosen the nut. Immediately, a small amount of water should emerge. Now all you have to do is wait for the water to drain completely. Keep a huge bucket at your side so that as the painter’s tray fills up, you may close the nut and dump the water into the bigger bucket. You won’t have any issues this way. Keep the towels below even if you have a little leak; they will absorb up any stray drops of water.
Step 3
Remove the valve by pulling it out. You can sometimes remove the valve off and get the water to stream out a lot faster if your radiator piping has enough elasticity.
Step 4
Disconnect the radiator from its mounting brackets. Take a careful look at how the radiator brackets come out because there are a lot of them. We propose slackening the other end of the radiator before completely removing it from the wall. Follow the same steps that you did with the first pipe. Completely undo it. You could get a little water out, but that’s fine; just wipe it up with your towel because there shouldn’t be much. To avoid spillages, remember to perform the bleed key again for the following stage.
Step 5
Tilt the radiator to one side. This will let the leftover water trapped underneath the radiator to let out into the TRV side of the radiator, where the painters are working. Drain it as much as possible. You may need to sit there for 5-10 minutes holding the radiator up at an angle, or you may support it up and keep it in place with a piece of wood. Simply remove it from the clips once it has been emptied. You’re now ready to paint the area behind the radiator.
Step 6
Reinstall the radiator once it has been painted. It’s time to reinstall the radiator, just reverse the procedure and putting everything back together. Reattach the radiator to the clamps and reconnect the pipes. After that, open the valves, drain off the extra air, and refill the radiator. If you have a pressurized system, double-check that it’s fully charged.
Also Read: How to Remove a Radiator for Decorating
Before you begin the procedure, make sure you understand what you’re dealing with, since it might be intimidating for someone who hasn’t done so before.