It isn’t in every case simple to deal with the temperature of a radiator with harmed removal of thermostatic radiator, and in some cases, the most straightforward arrangement is essential to eliminate and supplant them. Removal of thermostatic radiator for your house is frequently planned so they can only with significant effort come free, so you may likewise be hesitant to eliminate the valve in any case. You might even be enticed to bring in an expert, however assuming you have some fundamental home improvement abilities, you can undoubtedly eliminate an inconvenient thermostatic radiator valve that isn’t working. Simply adhere to these basic principles to get your radiator in the groove again.
The main thing you should do prior to eliminating the removal of thermostatic radiator is to guarantee that the water supply is totally wound down. This includes not just winding down the water at the mains yet additionally guaranteeing that your boiling water framework doesn’t have any water inside it which may make a trip to the radiators. Guarantee this by initially winding down the mains supply of water, and afterward running a hot tap until no more water is accessible. Leave the hot tap open in the event that there is water left in the framework. Whenever this is done, you are prepared to eliminate the valve.
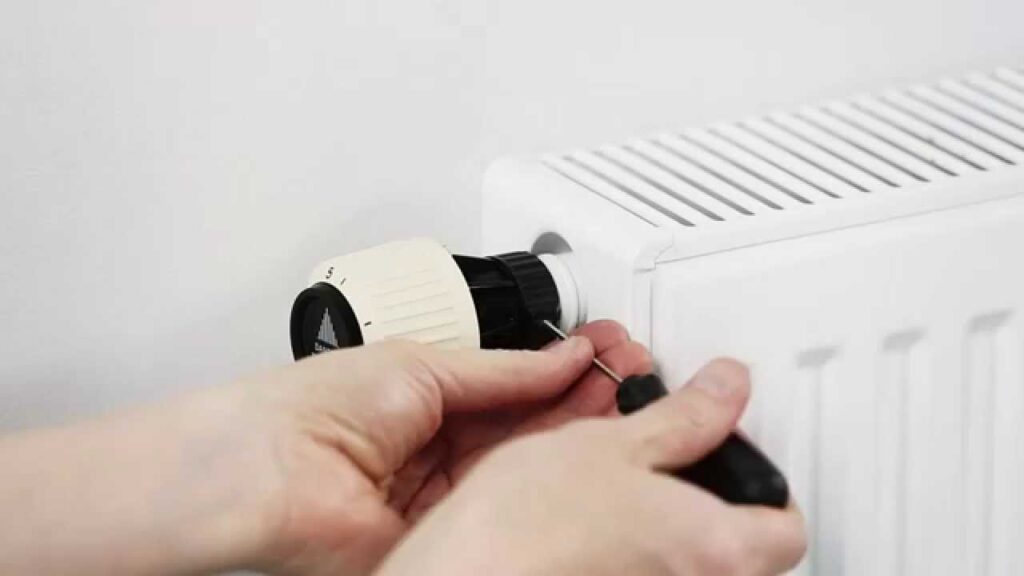
You should drain the radiator of gas and water inside the radiator case itself. There is a little spout as an afterthought which, when discouraged, discharges gas and furthermore dribbles water. Spot a bowl and a few towels under this spout, and afterward push down it is utilizing the tip of your screwdriver. Try not to deliver the pressing factor too early, or you will have gas fluid still in the radiator when you come to eliminate the valve. When the radiator is drained and the water wound down, you are prepared to eliminate the valve. Most valves can basically be squeezed off by lifting it with the wrench, however, some have been in a bad way into the line. Assuming the last is the situation, you should unscrew it utilizing the screwdriver with which you opened the spout. Take care while unscrewing the valve, as the screw may fly off unexpectedly, and either falls into the valve or vanish.
When the valve is totally unscrewed, you ought to have the option to slide it off utilizing the wrench. There might be caulking around the edges, so take care to pry it off tenderly, without utilizing an excess of power in some unacceptable region. You are attempting to eliminate the valve, not break it totally, all things considered. Whenever this is done, your radiator ought to be liberated from the valve, and you can do whatever you wish with the part. Removal of thermostatic radiator controls the progression of water through your radiator from your kettle. So, when they’re broken, they can wreck your warming in that room, and possibly all through your entire warming framework. In case you’re uncertain how to change a radiator valve this article will take you through each stride. Regardless of whether it’s wrecked or broken or needs supplanting with another thermostatic valve, read on to get your inquiries replied.
Also Read: How to Remove a Radiator Without Draining The System
Removal of thermostatic radiator utilize an air temperature sensor to consequently manage the progression of heated water into your radiator, so it stays at the temperature set on the dial. In case it’s set to ‘*’ or ‘off, the radiator will not warm up yet will permit sufficient warmth to guarantee the lines don’t freeze in Winter. How you investigate this issue relies upon which sort of radiator valve you have. There are three unique sorts of removal of thermostatic radiator: It has a dial with settings that let you change the temperature from ‘*’ off to 1 around 10°C to 5 about 23°C. This is a more fundamental form of the advanced TRV and is ordinarily found on more established warming frameworks. Its solitary settings are on/open and off/shut.
Removal of thermostatic radiator is utilized to control temperature, behaving like taps to the water going into the radiator. Normally, you’ll have two valves – one called a ‘control valve’ which is utilized to wind down the radiator on and by restricting the measure of water going into the radiator, and one called a ‘lock safeguard valve’ to adjust your framework by controlling the measure of warmth the radiator emits. On the off chance that your radiator isn’t warming up productively or it has cold patches, you should initially check in the event that it needs dying. Head over to our helpful how-to direct on draining radiators and follow the means, then, at that point check your radiator once more. On the off chance that everything is OK, a radiator valve substitution isn’t required. f you’ve followed the means on the best way to drain a radiator, yet it actually hasn’t fixed the issue, and all your different radiators are turned out great, it’s an ideal opportunity to do some radiator valve fix.