We all know how stunning and luscious lashes can complete a makeup look, adding glam and sophistication. But with the cost of professional lash extensions at a salon, many beauty enthusiasts are left searching for a more affordable solution.
Doing your own lash extensions not only saves you money but also allows you to customize your lashes to achieve the perfect look.
Learn how to apply eyelash extensions at home via this helpful guide. We’ll show you how to create professional-quality extensions and care for them right in the comfort of your own home.
Preparation
Before applying your lash extensions, you must gather all the necessary supplies and create a clean, comfortable workspace.
Here’s a list of items you’ll need for DIY lash extensions:
- High-quality individual lash extensions
- Lash extension adhesive (glue)
- Tweezers (preferably with a curved tip)
- Lash adhesive remover
- A magnifying mirror
- Microfiber or lint-free applicators
- Disposable mascara wands
When selecting your products, go for reputable brands to ensure the best results.
Your workspace should also be clean and free of clutter. Ensure to have a well-lit area and position your magnifying mirror to allow you to see your lashes up close and at a comfortable angle.
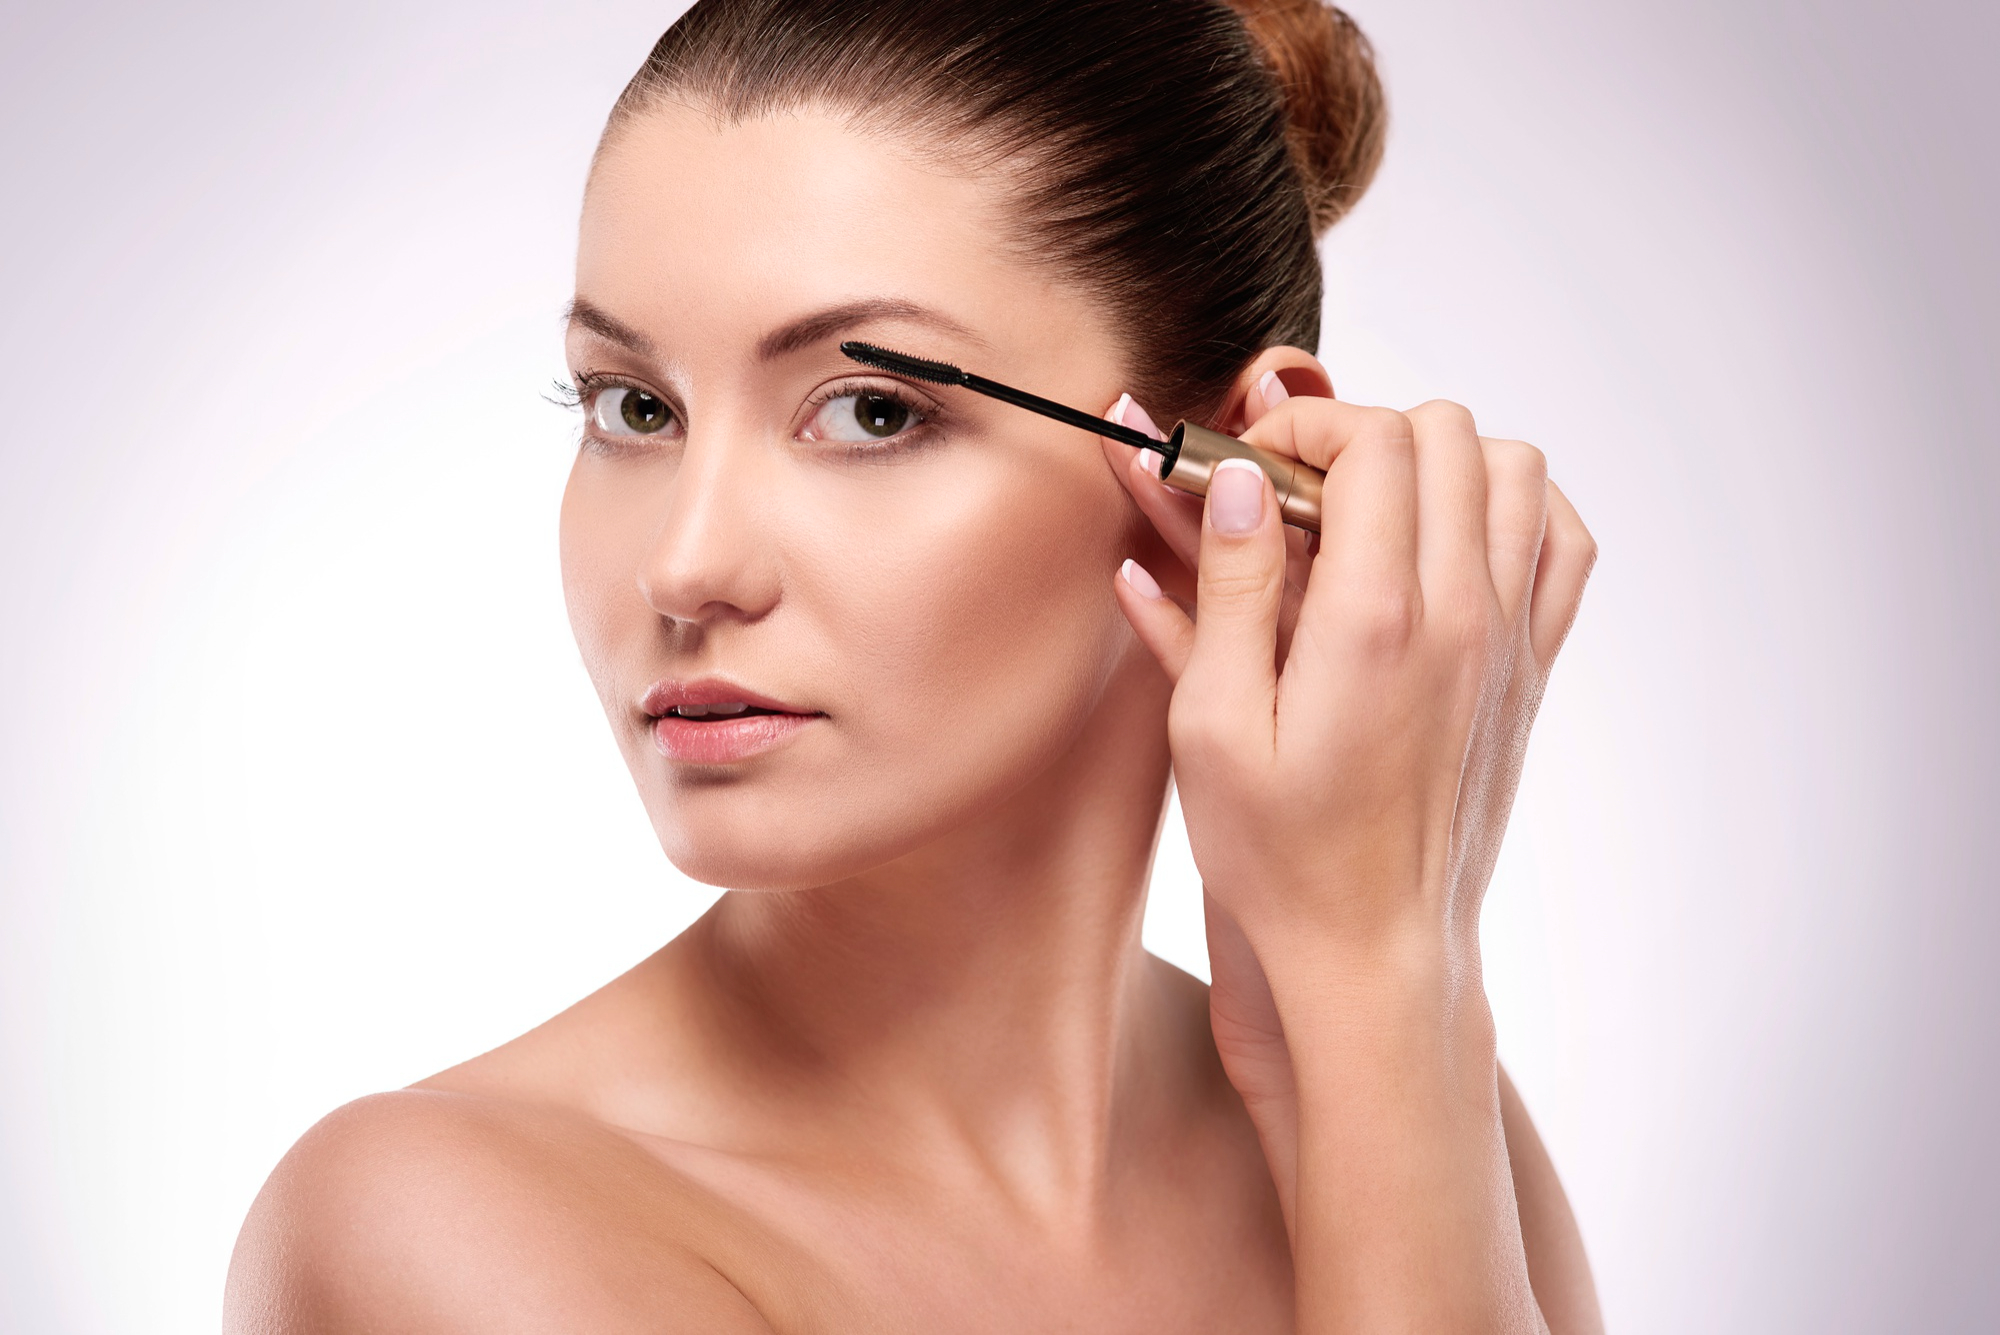
How to Create Your Own Professional-Quality Extensions
Prep Your Natural Eyelashes
This step involves cleaning and drying your lashes properly to remove any oils or residues that may interfere with the adhesive.
First, thoroughly cleanse your face, paying attention to your eye area. Use an oil-free makeup remover to remove makeup, and follow up with a gentle, water-based cleanser. This will help create a clean surface for the lash extensions to adhere to.
Next, use a lint-free applicator or a clean, dry mascara wand to comb through your natural lashes, ensuring they are untangled and separated.
Finally, ensure your lashes are completely dry before you proceed with the extension application. You can use a clean tissue to gently pat them dry or let them air dry for a few minutes.
Application Process
With your natural lashes prepped and your ideal extensions selected, you can begin the application process.
- Start by pouring a small amount of lash adhesive onto a clean surface, like a lash glue palette or aluminum foil. This will allow you to easily access the glue during the application process.
- Using your tweezers, pick up an individual lash extension by the tapered end, ensuring it’s facing the correct direction. Dip the base of the extension into the adhesive, ensuring that it’s coated with a thin layer of glue.
- Carefully bring the lash extension to your natural lash, attaching it as close to the lash line as possible. The glue should bond the extension to your natural lash, not your eyelid. Hold the extension in place for a few seconds, allowing the adhesive to dry and secure the bond.
- Repeat the process, working your way across your lash line and applying extensions one by one. To achieve a professional look, vary the lengths of the extensions you’re applying and ensure they’re evenly spaced and not clumped together.
- Once you’ve completed one eye, move on to the other eye, following the same steps. When both eyes are finished, use a disposable mascara wand to gently comb through your lashes, ensuring they’re well-separated and look natural.
Caring for Your Extensions
After successfully applying your DIY lash extensions, it’s essential to care for them properly to ensure they last as long as possible and remain looking fabulous. Here are some tips for maintaining your extensions:
- Avoid getting your lashes wet for the first 24-48 hours after application. This allows the adhesive to cure fully and prevents premature lash loss.
- Be gentle when cleaning your eyes or removing makeup. Use oil-free makeup remover and lint-free or microfiber applicators to cleanse your eye area carefully. Avoid rubbing or pulling on your lashes, as this can cause them to loosen or fall out.
- To keep your lashes looking their best, comb through them daily using a clean, disposable mascara wand. This helps maintain their shape and prevents any tangling or crisscrossing.
- Avoid using waterproof mascara, which can be difficult to remove without damaging your extensions. Instead, opt for a water-based mascara designed for use with lash extensions.
- If you notice loose or out-of-place extensions, don’t pull or tug on them. Instead, use a lash adhesive remover to safely and gently remove the affected extension before reapplying a new one.
Proper care and maintenance will not only prolong the life of your lash extensions but also help protect the health of your natural lashes.
Conclusion
With the right tools, supplies, and techniques, it’s possible to achieve professional-quality lash extensions in the comfort of your own home. Following this step-by-step guide, you can create stunning, customized lashes that elevate your look and boost your confidence. Though it may take some practice, mastering the art of DIY lash extensions can save you time and money in the long run. So, go ahead and give it a try!
Image credit: freepik (source)